

Guide for beginners: everything you need to know about repotting

Beginner's Guide: Everything You Need to Know About Repotting
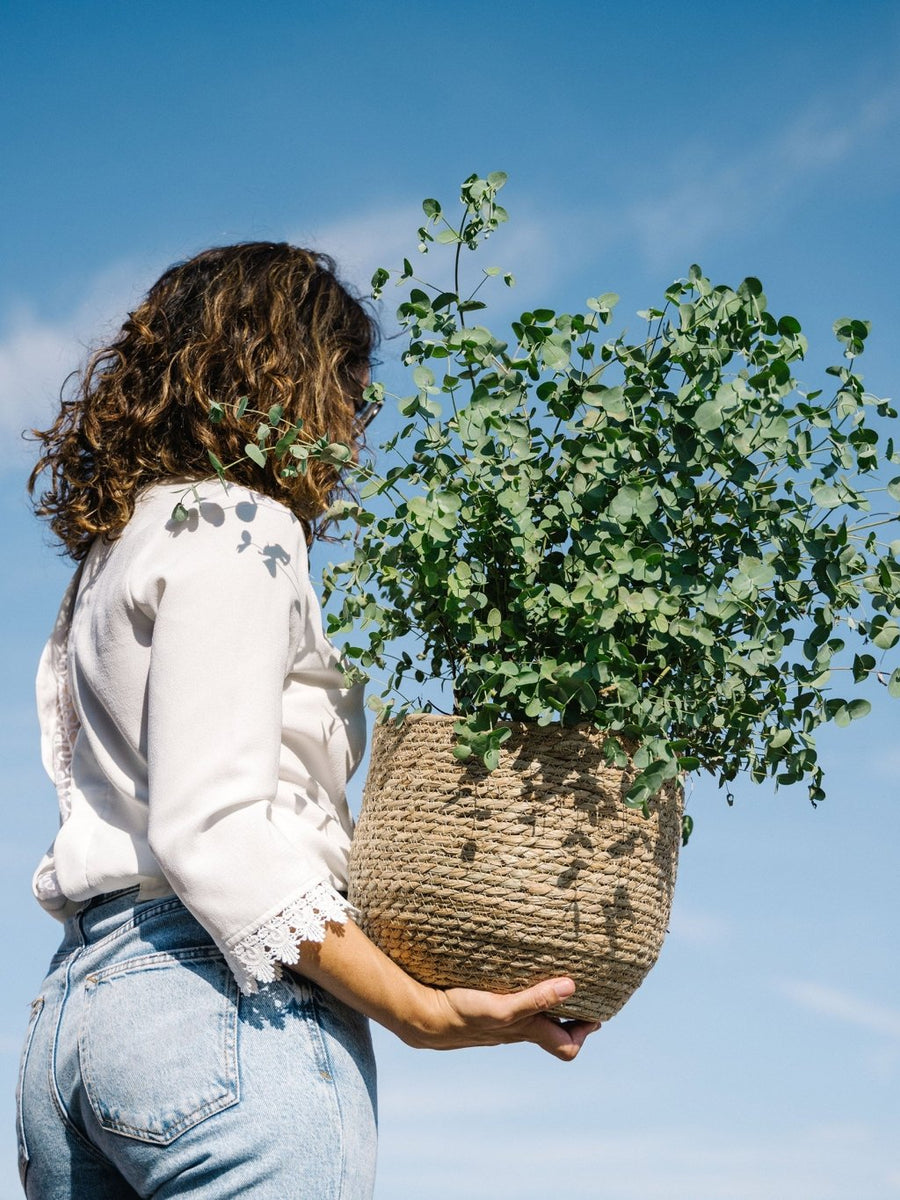
Repotting is necessary for the proper development of your plant. You don't have green fingers and you don't know how to do it? We give you 6 steps and simple and quick tips to follow to repot your plant yourself. Follow the guide!
What is repotting?
Repotting is simply the process of change your plant pot. The reasons can be varied, but it is essential to repot a plant regularly. As it grows, its roots They also deplete the nutrients in the soil and lack space to flourish.
Beginner mistakes to avoid:
Repot your plant in a cache pot
Cut too much roots
Choosing unsuitable soil
When to repot a plant?
Your plant may ask you to repot it, watch out for these signs !
- Its growth is slowed down
- Its new leaves are smaller
- Its foliage turns yellow
- It doesn't flower / hardly.


- What is the ideal period? ?
If your plant has not yet reached its final size, it is advisable to repot it once a year. We advise you to do this at the beginning of spring. The plant is then still in vegetative rest, and you will not disturb it. It will then be able to take advantage of the best days and the heat, and flourish. It is not recommended to repot a flowering plant. In this case, choose a slightly larger pot.
How proceed with repotting?
Necessary materials :
New substrate, choose according to the plant
Pot, bigger
Draining material
If you are ready, don'tDon't forget to use a container large enough to hold your plant, or to cover your table. !
Step by step instructions :
1. Carefully remove your plant from its old pot (wait until the soil is dry !)
Turn your pot, usually when repotting, the roots of your plant are coming out of the bottom. Gently untangle them, you can cut them with scissors or secateurs if you struggle too much. Generally, if you gently grasp the stems of your plant while pulling the pot, it will come out on its own. Otherwise you can cut the pot around the plant.


2. Cover the drainage hole with a shard, then place a layer draining from 4 to 5 cm of clay balls, gravel or shards.


3. Then pour a few centimeters of the new substrate.


4. Place the plant in the center of the pot and pour substrate all around tamping down lightly as you go with your fingers, to avoid the formation of air pockets which are harmful to the roots.
Be careful that the root ball is completely buried and does not exceed the surface of the earth.


5. Pack down the substrate and water generously.


6. Wait a good month before bringing in fertilizer.
Here is the final result! What do you think?

D'autres fiches
pour vos plantes.
Chaque variété a sa fiche d'entretien complète, rédigée par Laetitia et l'équipe. Trouvez celle qui vous manque.

Entretien - Érable Du Japon (Acer palmatum) : Guide pratique
Guide d’entretien de l’Érable du Japon (Acer palmatum) : exposition idéale, arrosage, sol, planta...

Entretien - Épicéa Blanc (Picea glauca) : Guide pratique
Guide pratique pour réussir l’entretien de l’Épicéa Blanc (Picea glauca) au jardin ou en pot : lu...

Entretien - Échinacée (Echinacea purpurea) : Guide pratique
Conseils d’entretien de l’échinacée : exposition, arrosage, sol drainant, taille des fleurs fanée...

Entretien - Waldsteinie Faux-Fraisier (Waldsteinia ternata) : Guide pratique
Guide d’entretien complet de la Waldsteinie faux-fraisier (Waldsteinia ternata) : exposition, arr...
Voir toutes nos fiches d'entretien →Pourquoi La Green Touch ?
Une petite famille française, en direct producteur, depuis bientôt 10 ans.

Direct producteur
Aucun intermédiaire entre nos producteurs et vous. Qualité supérieure, fraîcheur optimale, impact carbone réduit.

Livraison sécurisée
Colis spécialement conçu pour vos plantes. Expédition rapide, suivi fiable. Offerte dès 60€ d'achat.

Prête à offrir
Plante sélectionnée avec soin, emballage dédié et guide d'entretien inclus. Le cadeau idéal.

Conseil inclus
Plus de 100 000 clients accompagnés. Notre équipe reste disponible pour vous aider à prendre soin de vos plantes, à tout moment.